Rust keeps spreading
Once started, rust spreads under the paint. Classic enamels get blasted off from below. After 2–3 years the entire paint crumbles — the damage is usually beyond saving.
RUBBERPAINT
local_shipping
Free shipping from €199,00
trending_up
Only €199,00 until free shipping!
check_circle
Free shipping unlocked! 🎉
bolt
Shipping in 24 h after payment

Elastic coating for steel, iron, aluminium and corrugated sheeting. Stops existing rust, protects against weather and follows the thermal expansion of the metal — no cracks, no spalling.
Liquid rubber as a corrosion coating goes straight over firmly adhering surface rust — no full sandblasting required. The elastic coating creates an airtight barrier that stops oxidation and bridges stress cracks. Suitable for corrugated sheet, steel beams, railings, gates and machinery parts outdoors.
Metal moves more than any other building material — it expands, contracts, vibrates. Classic enamels are rigid and crack. As soon as the slightest damage occurs, rust starts — and can't be stopped, it eats further.
Once started, rust spreads under the paint. Classic enamels get blasted off from below. After 2–3 years the entire paint crumbles — the damage is usually beyond saving.
Metal expands with heat by 0.012 mm/m/°C. In the summer-winter cycle that means several millimetres of movement — rigid paints crack and peel; sandblasting + repainting costs thousands.
Road salt, coastal locations or pool surroundings speed up corrosion by a factor of 3–5. Standard paints rarely last more than 2 years there — a specialist product for salt exposure is essential.
Highly elastic and crack-bridging — moves with the thermal expansion of the metal without splitting. This is exactly where traditional paints fail.
Firmly adhering rust is neutralised with a rust converter and then over-coated directly. Saves the cost of sandblasting — you can spot-repair instead of stripping back and starting again.
Stands up to coastal locations, road-salt exposure and poolside use. Performs where traditional paints throw in the towel after 2 years.
Even in high summer on sun-exposed steel (corrugated roofs, dark gates) the coating stays elastic and intact.
Wire brush, grinding disc or sandblasting.
Use wire brush, grinding disc or sandblasting to remove loose rust and old, flaking coatings — down to a sound substrate. Work welds and screw connections particularly thoroughly, as rust nests sit here. Firmly adhered surface rust stays — it'll be converted in the next step.
For heavily rusted spots, have welds or individual sheets replaced — coating alone won't save eaten-through steel.
Pro tip: Sandblasting gives the best surface (St 2.5 to EN ISO 8501-1) — for large areas, rental equipment from a DIY store is much cheaper than professional treatment.
Converts iron oxide into a stable compound.
On firmly adhered surface rust: apply a commercial rust converter (phosphoric-acid based) evenly. Let act for 24 h, then wipe with a damp cloth. Converts iron oxide into a stable, neutral compound that serves as a bonding base for the coating.
Smooth transitions between rust-free and treated areas with sandpaper.
Pro tip: Only apply rust converter on fully dry rust — on damp rust the phosphoric acid doesn't react properly and the result is unstable.
With acetone or brake cleaner.
Clean the entire surface with acetone or brake cleaner — removes invisible oils, grease and residue from the rust converter. Wipe with lint-free cloths, change often. Let dry for 30 minutes — don't touch with bare hands afterwards.
On large areas wear gloves and re-degrease after every break — hand sweat is just as problematic as lubricant.
Pro tip: On non-ferrous metals (aluminium, galvanised steel) degreasing isn't enough — these need roughening with grit 80–120 sandpaper or a special primer for non-ferrous metals.
Undiluted, applied generously.
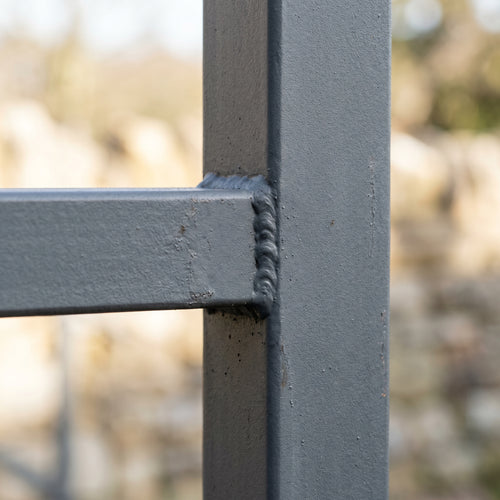
Apply the first coat undiluted and generously. With brush or short-pile roller. Consumption 150–200 g/m². Particularly generous on edges, welds and screw connections — these are the most vulnerable, where corrosion starts. Gapless coverage, no pinholes (small visible holes).
On vertical surfaces work top to bottom and spread out drips immediately.
Pro tip: Light the wet coat from a flat angle with a torch — pinholes become immediately visible and can still be touched up before the layer dries.
Cross to the first, after 4 h.
After 4 h apply the second coat cross to the first. Consumption again 150–200 g/m². In salty environments (coast, road-salt area) or industrial exhaust, a third coat is recommended. Rain-resistant after 6 h (manufacturer specification), fully load-bearing after 28 days.
In the splash zone (ground contact, lower 30 cm) also a third coat — these areas are salt-stressed.
Pro tip: Annual visual inspection of the weather side — touch up small damage immediately, otherwise rust spreads further under the coat.
Degreasing is the underrated step — even minimal grease residue (hand sweat, lubricant, old paint) prevents lasting adhesion. Wipe thoroughly with acetone or special degreaser using fresh cloths. After degreasing, don't touch the metal with bare hands.
Enter your area and desired number of coats — we recommend the optimum tub combination.
Standard: 2 coats. 3 for heavily exposed surfaces.
Consumption: 175 g/m² per coat. +10 % buffer for offcuts and uneven surfaces. For larger projects (> 80 m²) contact us for individual advice.
Recommendation
—
Calculating…
Free shipping from £170 — review your basket after adding.
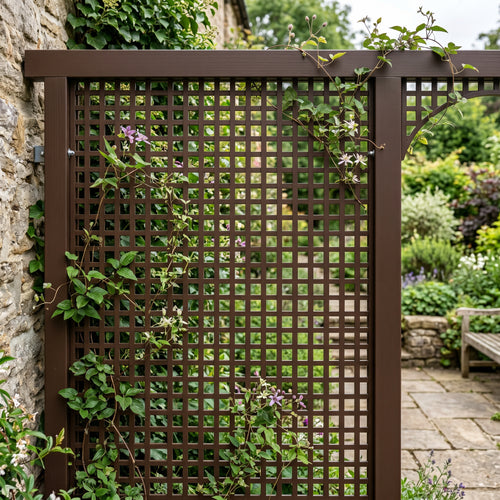
Graphite is the classic for modern metalwork, with black and grey for industrial buildings. Brown and russet suit a more rustic look (wrought iron, garden gates).

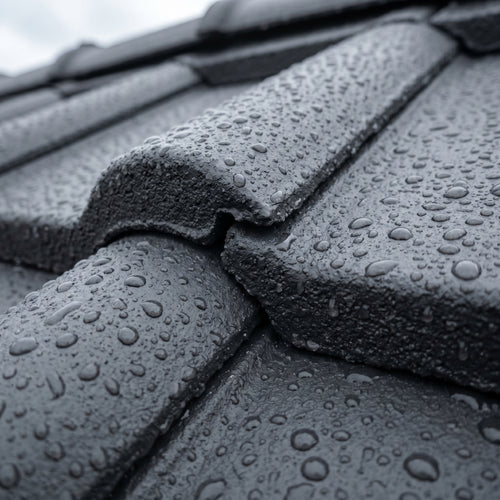




Paint a metal roof, protect corrugated iron, rescue rusty metal: the elastic coating bonds directly to firmly adhering rust — no laborious rust removal.
A metal roof moves: in summer sun the metal expands, at night it contracts again. Rigid paint cracks exactly along this movement, water runs under the film, and rust keeps growing underneath. An elastic paint moves with the metal and stays watertight.
Suitable for corrugated iron, trapezoidal sheet, galvanised steel, steel beams, railings, fences, gates and tanks outdoors.
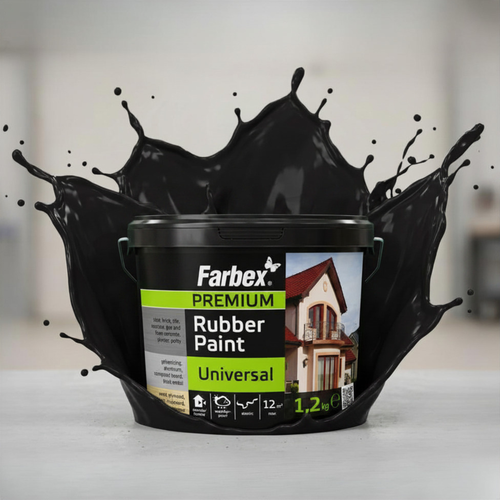
Liquid rubber (also called rubber paint, rubberised paint or flexible coating) bonds directly to rusty steel without laborious rust removal. The elastic membrane encapsulates the corrosion and blocks further oxygen and moisture from reaching the metal. On galvanised steel, use a thin adhesion primer first.
For 2 coats on metal (low absorbency): 0.2–0.3 kg/m². For a 40 m² corrugated roof ≈ 10–12 kg (3 × 3.5 kg plus reserve).
Black (RAL 9005) and Graphite (RAL 7024) for an industrial look. Brown (RAL 8017) and Red-Brown (RAL 3009) for traditional corrugated roofs.
Yes — with a thin PU bonding primer, or directly on old weathered zinc. New zinc needs a primer.
It encapsulates the rust and blocks oxygen and moisture. With heavy corrosion (pitting), repair the metal first.
Yes, tested to DSTU ISO 16474-2. Service life of at least 7 years.
Yes, after degreasing with acetone. Aluminium does not rust like steel, but adhesion benefits from keying the surface with fine abrasive paper.
Ready to start? Choose your colour and tub size.
Go to the shop → · Application overview · FAQ
Related terms: Our product is sold in DIY stores and the trade under several names — liquid rubber, liquid rubber paint, liquid membrane, rubber paint, rubberised paint, flexible coating, elastic exterior paint or polymer coating. They all mean the same product: a waterproof, highly elastic coating based on acrylic latex.
The same elastic liquid-rubber coating for many more applications — explore all use cases.

waterproof

paint

waterproof
waterproof

Exterior paint
paint
Rust protection
Coating
Our technical team advises on complex applications, substrate analysis and film-thickness calculation.